
Why Changing Toilet Insides Is Worth Doing Right Now
Changing toilet insides is one of the most effective DIY repairs a homeowner can tackle — and it usually takes less than two hours.
Here's a quick answer to get you started:
How to change toilet insides (summary):
- Turn off the water supply valve (clockwise) behind the toilet
- Flush and sponge out remaining water from the tank
- Disconnect the water supply line
- Remove the old fill valve, flush valve, and flapper
- Install the new components and adjust water level
- Reconnect the supply line and test for leaks
The three parts you'll almost always replace are:
| Component | What It Does |
|---|---|
| Fill valve | Refills the tank after each flush and shuts off at the correct water level |
| Flush valve | Releases water from the tank into the bowl when you flush |
| Flapper | Rubber seal that stops water from leaking from the tank into the bowl |
A basic repair kit costs around $7 at a hardware store. Compare that to a leaking toilet that can waste up to 200 gallons of water per day — adding $60–$100 to your monthly water bill.
That's a repair worth making today.
We are All Pro Service Group, and our team has been solving plumbing problems — including changing toilet insides — for homeowners across the Greater Salt Lake Valley since 2008. In that time, we've seen just about every tank failure imaginable, and we'll walk you through exactly how to fix yours.
Understanding the Anatomy of Your Toilet Tank
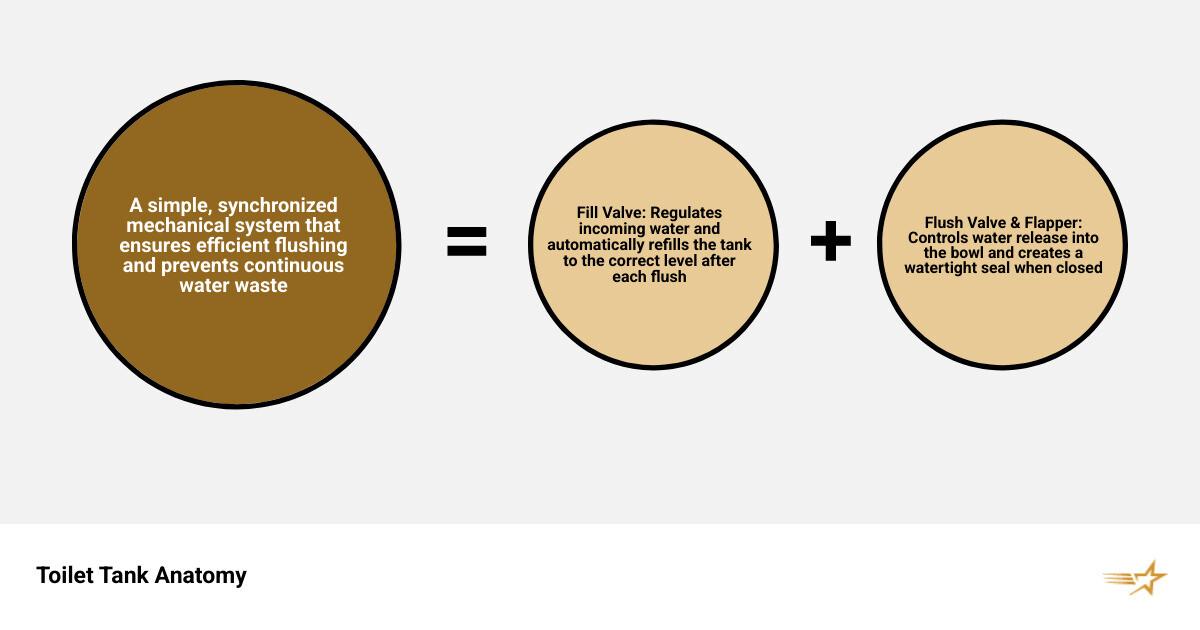
Before we start rolling up our sleeves and getting our hands wet (clean water, don't worry!), we need to understand what we’re looking at. Most people stare into a toilet tank and see a confusing jumble of plastic and rubber. In reality, it’s a beautifully simple mechanical system.
The "guts" of your toilet consist of a few key players working in harmony. If one of them decides to retire early, the whole system fails. Whether you are in Salt Lake City or Park City, the mechanics of a standard two-piece toilet are virtually identical. You can learn more about the broader scope of these systems in our Toilet Repair Complete Guide.
The main components include the fill valve, the flush valve, the flapper, and the overflow tube. Understanding these is the first step in How to Replace the Guts of a Toilet - Engineer Fix.
The Role of the Fill Valve
Think of the fill valve as the "gatekeeper" of your toilet. Its primary job is to control the water coming from your home’s main supply line into the tank. When you flush, the water level drops, the float on the fill valve falls, and the valve opens to let fresh water in. Once the water reaches a specific height, the float rises and shuts the water off.
If your toilet is constantly running or making a hissing sound, the fill valve is often the culprit. It might not be shutting off properly, leading to massive water waste. We have a detailed look at this specific part on our page about Changing Toilet Valve.
The Flush Valve and Flapper Mechanism
While the fill valve lets water in , the flush valve is responsible for letting water out. The flush valve is the large plastic tube located in the center of the tank. At the base of this tube sits the flapper—a rubber seal that acts like a plug in a bathtub.
When you push the handle, a chain lifts the flapper, allowing the tank’s water to rush into the bowl via gravity. As the tank empties, the flapper drops back down to create a watertight seal so the tank can refill. Over time, the rubber in the flapper deteriorates—especially in areas like Provo or West Jordan where mineral content in the water can be high—leading to that annoying "ghost flushing" sound.
Signs It’s Time for Changing Toilet Insides
How do you know if you need to perform surgery on your porcelain throne? Sometimes the signs are loud and clear, and other times they are sneaky. If you notice any of these symptoms, it might be time for Emergency Plumbing attention or a DIY weekend project.
| Symptom | Likely Culprit | Fix Difficulty |
|---|---|---|
| Toilet runs constantly | Fill Valve or Flapper | Easy |
| "Ghost flushing" (tank refills randomly) | Worn Flapper | Very Easy |
| Weak or incomplete flush | Flush Valve or Chain | Moderate |
| Water leaking from under the tank | Tank-to-Bowl Gasket | Moderate |
| Hissing sound after tank is full | Faulty Fill Valve | Easy |
Common Symptoms for Changing Toilet Insides
One of the most common reasons homeowners in the Salt Lake Valley call us for Plumbing help is a sudden spike in the water bill. If your bill has jumped $50 or $100 without a change in your habits, your toilet might be "leaking" water directly down the drain.
A leaking toilet can waste up to 200 gallons per day. That’s not just a drop in the bucket; that’s enough to fill a small swimming pool over a few months! Mineral buildup from our local Utah water can also cause the internal parts to become brittle or covered in scale, preventing them from sealing properly.
Financial Impact of Leaks
Let’s talk numbers, because changing toilet insides is one of the best investments you can make in your home. According to environmental statistics, a leaking toilet can waste up to 73,000 gallons of water per year.
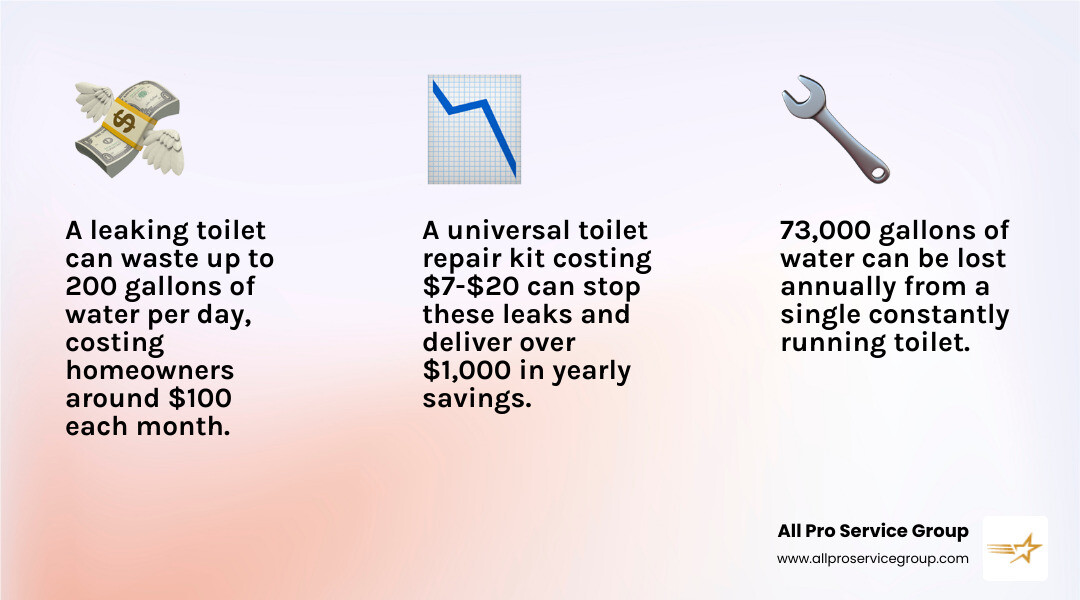
A high-quality universal repair kit costs about $7 to $20. If you spend an hour of your time on a Saturday replacing these parts, you could save yourself over $1,000 a year in wasted water costs. That is a massive return on investment (ROI) for a $7 part!
Preparation and Tools for the Job
Before you start, you need to gather your gear. There is nothing worse than being halfway through a plumbing job and realizing you need to run to the store in South Jordan while your only bathroom is out of commission.
Safety and Water Shut-off Procedures
Safety first! Before touching any bolts, you must shut off the water. Locate the silver oval handle on the wall or floor behind the toilet. Turn this shut-off valve clockwise until it stops.
Once the water is off, flush the toilet and hold the handle down to drain as much water as possible. You’ll still have about an inch of water at the bottom of the tank. Use a sponge and a bucket to soak up this residual water. If you don't, that water will end up on your bathroom floor the moment you loosen the fill valve.
Essential Materials for Success
For a complete overhaul, we recommend buying a "Total Repair Kit." These kits usually include a new fill valve, flush valve, flapper, and even the tank-to-bowl bolts.
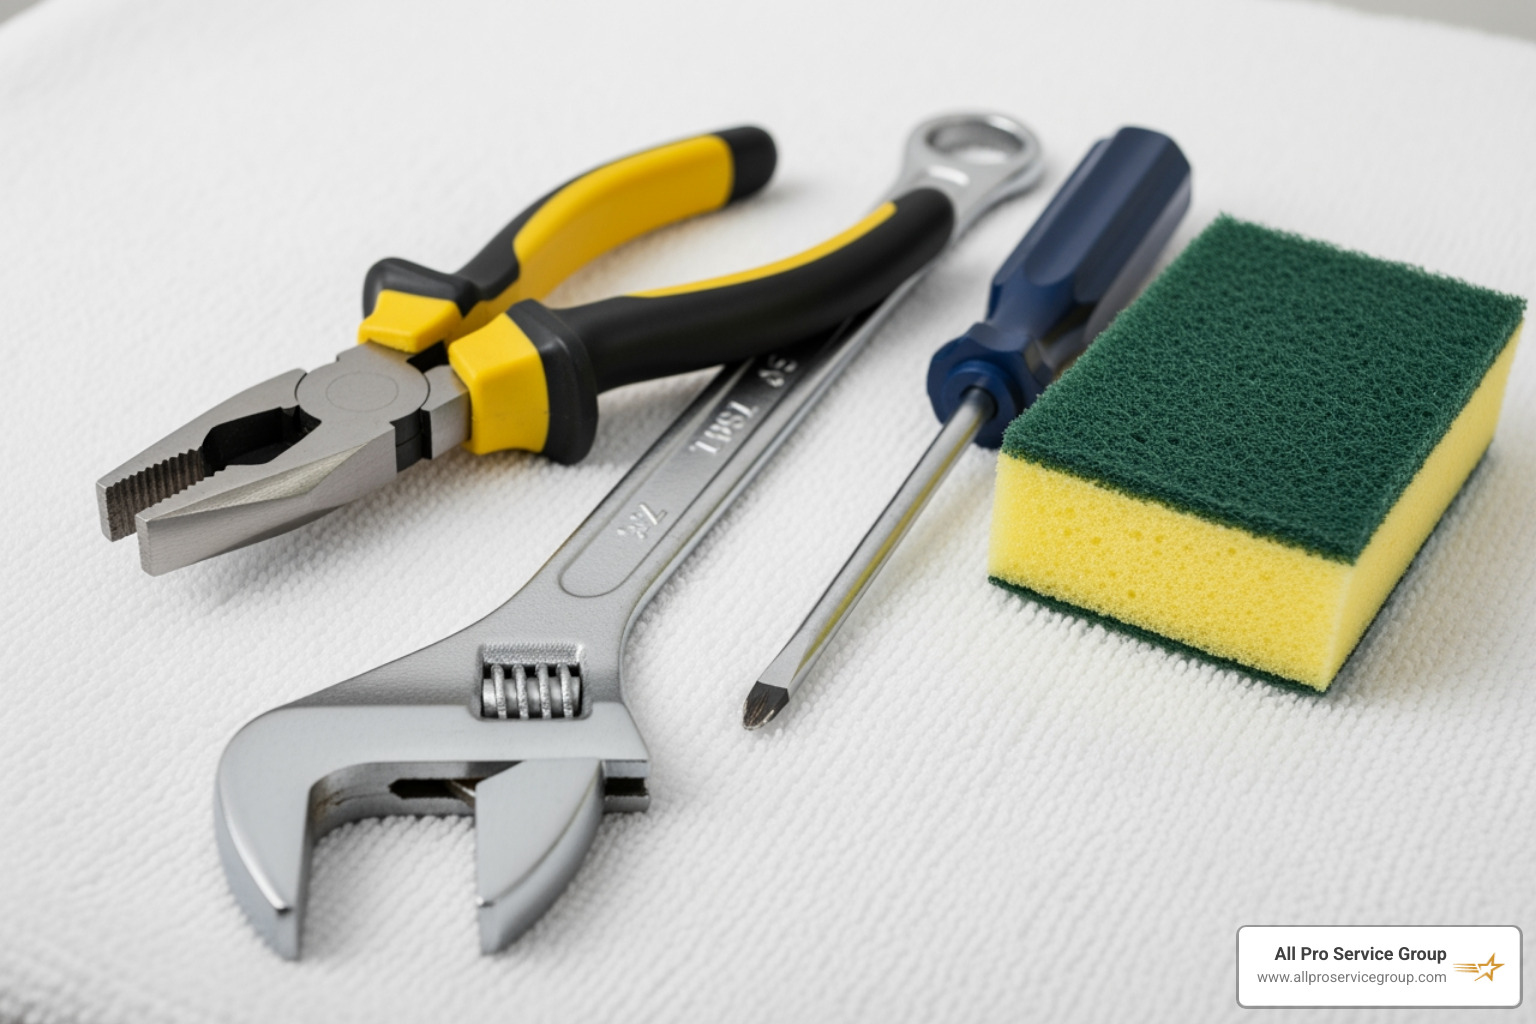
You will need:
- An adjustable wrench
- Channel-lock pliers
- A flat-head and Phillips-head screwdriver
- A large sponge and a small bucket
- Rubber gloves (because while the tank water is clean, the old rubber parts can leave a messy black residue on your hands)
- A new tank-to-bowl gasket (if you are removing the tank)
For more tips on choosing the right parts, check out this How to Replace a Toilet Tank: Your Stress-Free DIY Guide - MyPlumbingPal.
Step-by-Step Process for Changing Toilet Insides
Now we get to the "gutsy" part. If you’re nervous, don't be. Just follow these steps, and you’ll be a pro in no time. If you hit a snag, you can always look into our professional Plumbing Repair services.
Removing Old Hardware
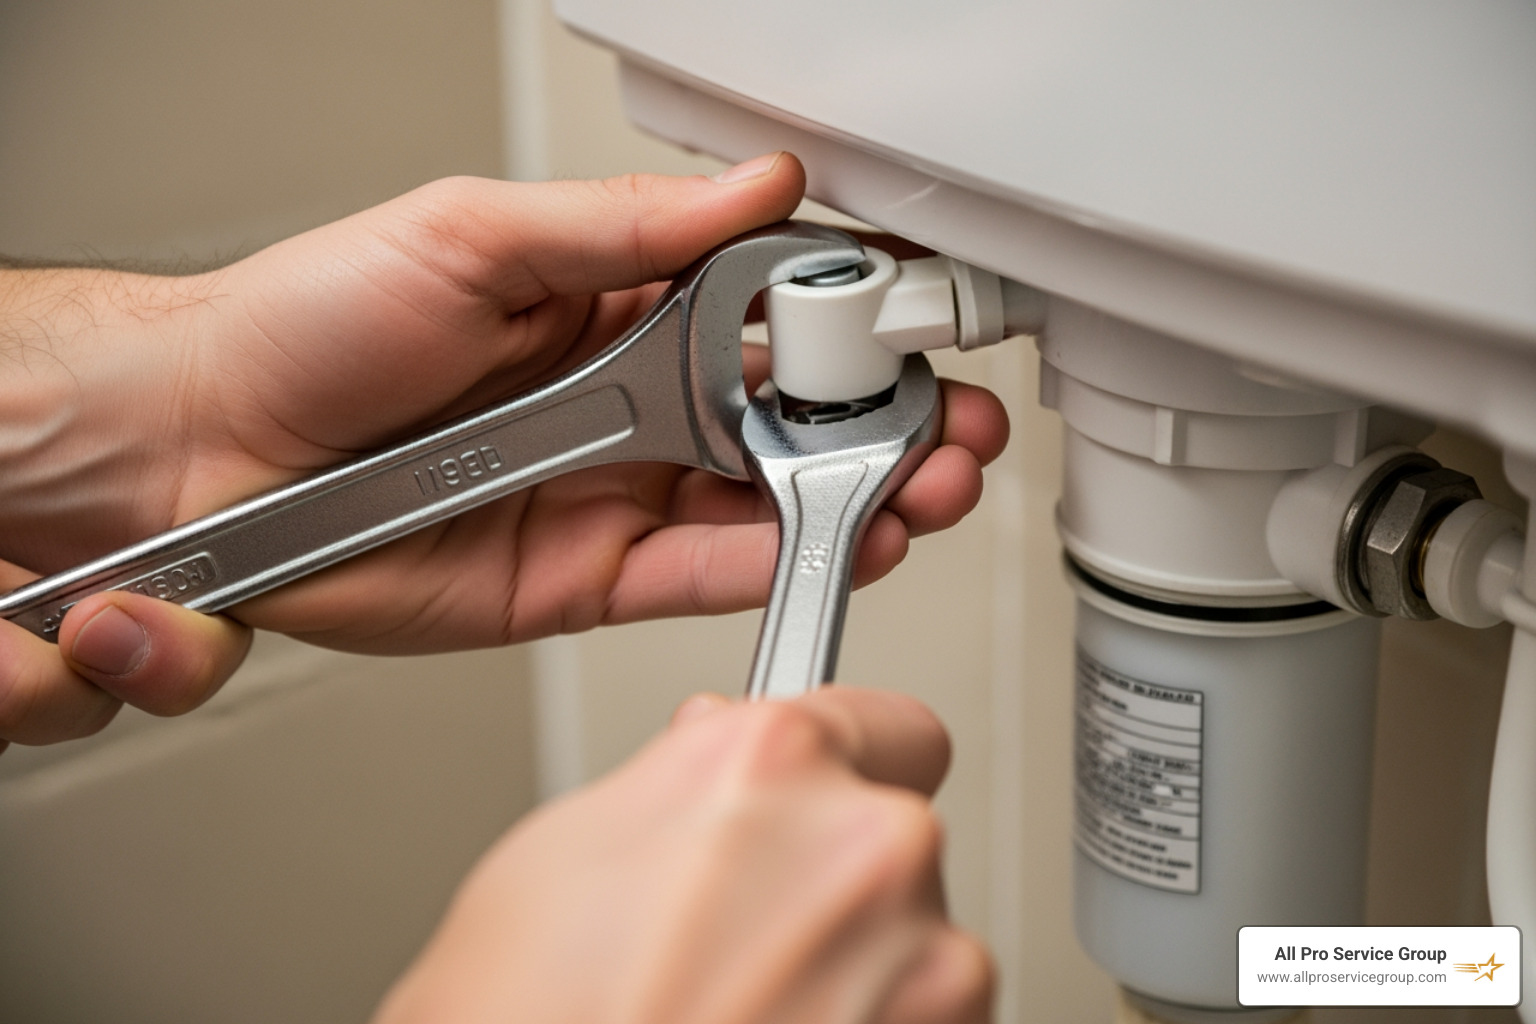
- Disconnect the Supply Line: Using your wrench, unscrew the coupling nut that connects the water supply line to the bottom of the fill valve (the part sticking out of the bottom left of the tank).
- Remove the Fill Valve: Underneath the tank, there is a plastic locknut holding the fill valve in place. Unscrew it. You can now lift the old fill valve out of the tank.
- Remove the Tank (If replacing the Flush Valve): Most flush valves require you to remove the tank from the bowl. Unscrew the two bolts at the bottom of the tank. Lift the tank straight up and set it gently on a towel.
- Remove the Flush Valve: Unscrew the large nut on the bottom of the tank that holds the flush valve assembly in place. Remove the old unit and the large rubber gasket.
- Clean Up: Use your sponge to clean any slime or mineral deposits around the holes in the tank. A clean surface ensures a better seal for the new parts.
Installing and Adjusting New Components
- Install the Flush Valve: Place the new flush valve into the center hole of the tank. Make sure the overflow tube is facing the fill valve. Tighten the large nut on the outside bottom of the tank by hand, then give it a 1/4 turn with pliers. Do not overtighten!
- Install the Fill Valve: Check our guide on Changing Toilet Valve for specifics, but generally, you want to adjust the height of the fill valve so the top is about an inch above the overflow tube. Insert it into the hole, tighten the locknut underneath, and reconnect the supply line.
- Reattach the Tank: Place the new tank-to-bowl gasket over the flush valve nut. Set the tank back onto the bowl, aligning the bolt holes. Insert the new bolts (with washers) and tighten them alternatingly (left side a bit, then right side a bit) until the tank is snug and level.
Testing and Troubleshooting Your New Setup
Once everything is tightened, it’s time for the moment of truth. Turn the water supply valve counter-clockwise slowly. Watch the tank fill.
Avoiding Common DIY Mistakes
The biggest mistake we see in West Valley City and Ogden is overtightening. Porcelain is basically glass; if you crank down on those bolts too hard, the tank will crack. Hand-tight plus a tiny bit more is usually enough.
Also, watch out for cross-threading. The threads on fill valves are usually plastic. If the nut isn't going on smoothly, stop! Back it off and try again.
Final Adjustments for Efficiency
Check the water level. There is usually a "fill line" marked on the back of the tank or on the overflow tube. If the water is too high, it will leak into the overflow tube. If it’s too low, you’ll have a weak flush. Adjust the screw on the fill valve to move the float up or down.
To be 100% sure you have no leaks, try the food coloring test. Drop a few drops of blue or red food coloring into the tank. Wait 15 minutes without flushing. If the water in the bowl changes color, you have a leak (usually the flapper or the flush valve seat).
Repair vs. Replacement: When to Call the Pros
Sometimes, changing toilet insides isn't enough. If your toilet was manufactured before the mid-90s, it might be using 3.5 to 6 gallons per flush. Modern WaterSense toilets use only 1.28 gallons.
We recommend calling for professional Plumbing Repair if:
- The porcelain tank or bowl has a visible crack.
- The floor around the toilet feels soft or spongy (this indicates a failed wax ring and potential subfloor rot).
- The shut-off valve is stuck or leaking.
- The toilet is over 25 years old.
Benefits of a Full Toilet Upgrade
Replacing an ancient toilet with a modern model can save the average Utah family about $170 a year in water costs. Over the lifespan of the toilet, that’s over $3,000 in savings! Plus, newer toilets are designed to be much more clog-resistant. If you're interested in a full swap, take a look at How to Replace a Toilet | Detailed Explanation (2026).
Frequently Asked Questions about Toilet Repair
How much does it cost to change toilet insides?
If you do it yourself, a universal kit costs between $7 and $20. If you hire a professional, you can expect to pay for the parts plus a standard labor rate, which usually starts around $50-$100 for a simple internal swap. However, the DIY route is very accessible for most homeowners.
Why does my toilet keep running after I replaced the flapper?
Check the chain! If the chain is too tight, it will hold the flapper open slightly. If it's too long, it can get caught under the flapper. Also, make sure the fill valve float isn't set too high, causing water to constantly spill into the overflow tube.
Can I use a universal kit for any toilet?
Most of the time, yes. However, some high-end or older designer toilets have specific requirements. Check if your flush valve is 2 inches or 3 inches (3 inches is common in newer, high-flow toilets). If you aren't sure, take the old parts with you to the hardware store in Salt Lake City to compare.
Conclusion
Changing toilet insides might seem like a daunting task, but it is one of the most rewarding DIY projects you can complete. By spending a little time and a few dollars, you can stop the annoying sounds of a running toilet and keep your hard-earned money from literally going down the drain.
At All Pro Service Group, we pride ourselves on being the dependable experts for the Greater Salt Lake Area. Whether you're in Ogden, Provo, or anywhere in between, we are "Gephardt Approved" and ready to help if your DIY project turns into something more complex. We've been serving Utah since 2008 with exceptional customer service and trained experts who treat your home like their own.
If you need a hand with your next plumbing project, don't hesitate to reach out. For More info about plumbing repair services, visit our website or give us a call!