
A Running Toilet Is Costing You More Than You Think
If you need to fix a toilet float valve, here's the short answer:
- Adjust first — turn the float adjustment screw clockwise to raise the water level, or counterclockwise to lower it.
- Clean if needed — flush debris from the valve cap before replacing anything.
- Replace the valve — if it's over 7 years old or won't stop running after adjustment, swap it for a new one (costs $8–$25).
- Set the water level — aim for 1 inch below the top of the overflow tube.
- Test — flush twice and check for leaks or continuous running.
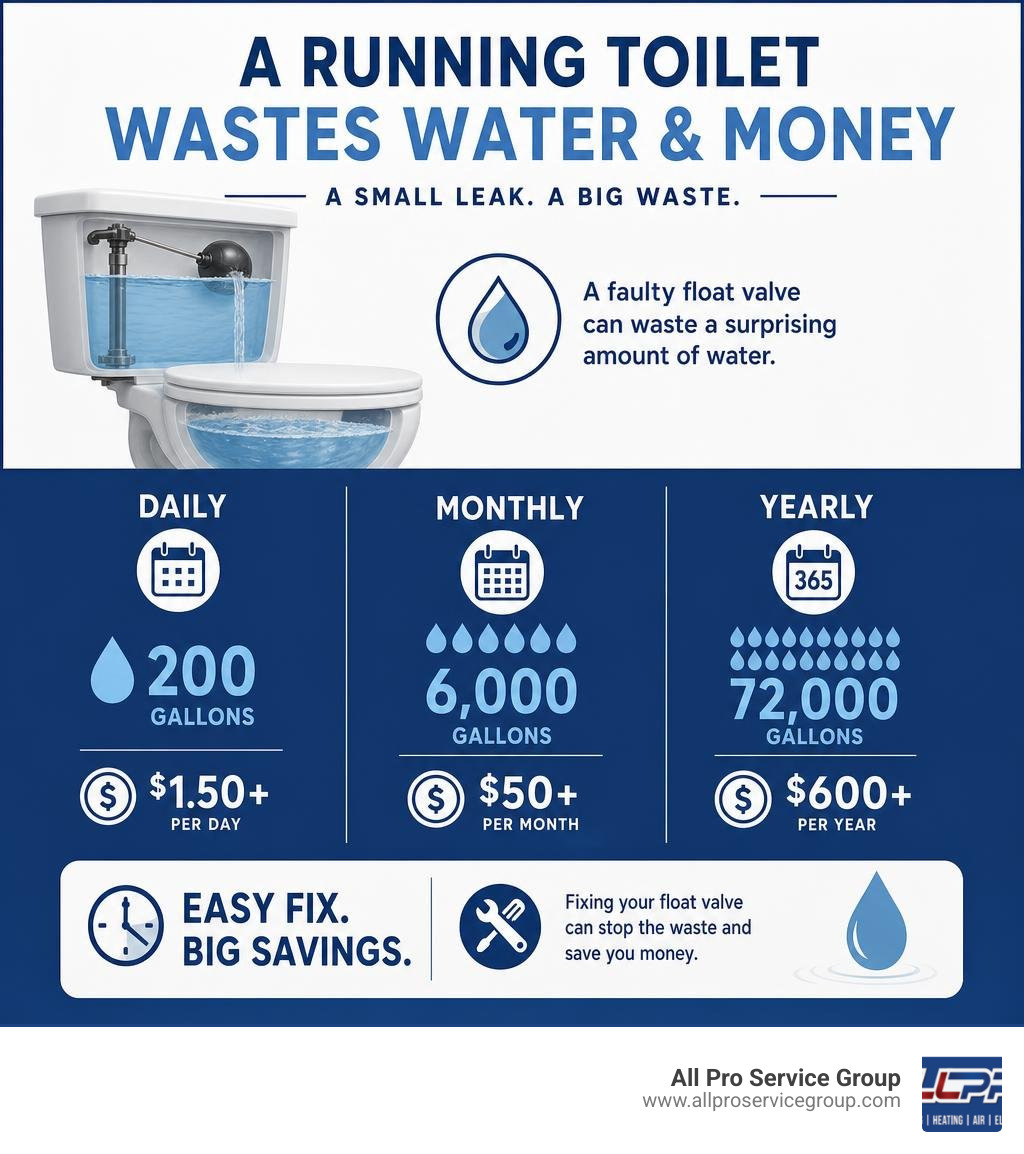
A constantly running toilet isn't just annoying — it's quietly draining your wallet. A faulty float valve can waste around 200 gallons of water per day, adding $50 or more to your monthly water bill. That's roughly 6,000 gallons a month going straight down the drain for a problem that often takes less than 30 minutes to fix.
The good news? Most float valve issues are a simple adjustment or a $10–$25 part. You don't need to be a plumber to fix it.
At All Pro Service Group, we have spent years helping Greater Salt Lake homeowners tackle plumbing repairs — including countless calls to fix toilet float valve problems — and we've seen how a small fix done right saves big headaches down the road. Let's walk through exactly what to do.
What Is a Toilet Float Valve and How Does It Work?
To understand how to fix this component, we first need to understand what it actually does. The toilet float valve, commonly referred to as the fill valve, is the unsung hero of your bathroom's plumbing system. Its primary job is to control the flow of fresh water into your toilet tank after every flush.
When you push the flush lever, the flapper at the bottom of the tank lifts, releasing water into the bowl. As the water level in the tank drops, the float (either a floating ball on a metal rod or a plastic cup sliding up and down the valve shaft) drops with it. This downward movement opens the fill valve, allowing fresh water to rush into the tank.
As the tank refills, the float rises. Once the water reaches the correct height, the float closes the valve, shutting off the water supply. If the float is set too high, the water level will rise above the top of the overflow tube, causing water to spill continuously into the bowl. This creates a constant siphon effect, preventing the valve from ever shutting off. Additionally, fluctuating or high municipal water pressure can wear down the internal seals of your fill valve over time, leading to leaks and persistent running sounds.
Learning how this system operates is the first step toward diagnosing issues. For a deeper look at the mechanics of this system, you can check out this guide on How To Replace Your Toilet Fill Valve.
Diagnosing the Issue: Float Valve vs. Flapper
Before running to the hardware store, we must determine whether the culprit is actually the float valve or the rubber flapper at the bottom of the tank. Replacing the wrong part is a common DIY mistake that wastes both time and money.
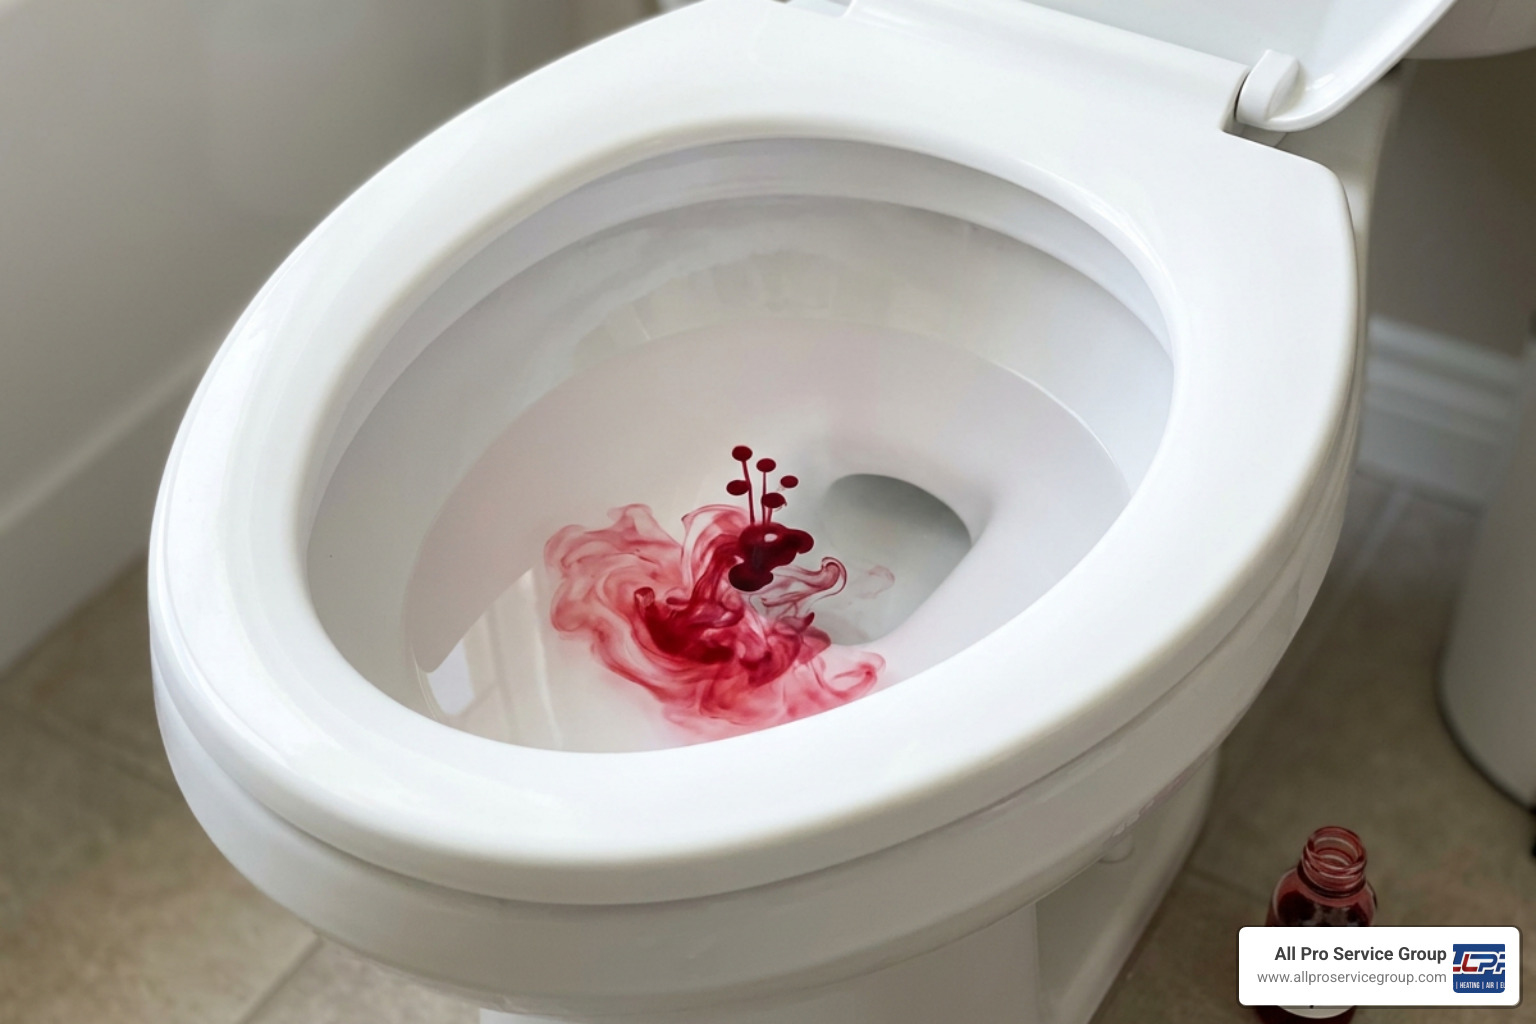
Fortunately, we can run a simple, foolproof diagnostic test in about 15 minutes using ordinary food coloring:
- Remove the tank lid and set it carefully on a towel so it doesn't chip or crack.
- Squeeze 10 to 15 drops of food coloring(blue, red, or green work best) into the water inside the toilet tank. Do not flush the toilet.
- Wait 15 minutes without using the toilet.
- Check the toilet bowl. If you see colored water seeping into the bowl, you have a leaking flapper. The rubber flapper has likely deteriorated, warped, or accumulated mineral deposits, preventing it from forming a tight seal.
- If the bowl water remains completely clear, but you still hear a constant running or hissing sound, the issue lies with your float valve.
Another classic sign of a bad flapper is "phantom flushing" — when the toilet suddenly runs for a few seconds out of nowhere to top off the water level. Conversely, if your toilet takes ages to refill (a slow fill) or makes a high-pitched whistling noise when refilling, the float valve is almost certainly the part that needs attention. For a full breakdown of common toilet issues, take a look at our Toilet Repair Complete Guide.
How to Fix Toilet Float Valve Water Levels
If our diagnostic test points to the float valve, the first and easiest solution is to adjust the water level. Over time, physical vibrations or minor shifts in the mechanism can throw the float out of alignment, causing the water level to rise too high (spilling into the overflow pipe) or drop too low (resulting in a weak, incomplete flush).
When adjusting the water level, we want the water to sit about 1/2 inch to 1 inch below the top of the overflow pipe. We also need to pay attention to the critical level (C.L.) mark stamped on the side of modern fill valves. By plumbing code, this critical level mark must sit at least 1 inch above the top of the overflow pipe to prevent toxic toilet water from back-siphoning into your home's clean water supply.
To help you navigate this adjustment, we’ve put together a quick-reference table for different valve styles:
| Float Valve Type | Adjustment Mechanism | How to Lower Water Level | How to Raise Water Level |
|---|---|---|---|
| Traditional Ballcock | Metal or plastic arm with a floating ball | Bend the metal rod slightly downward near the middle. | Bend the metal rod slightly upward. |
| Modern Float Cup | Vertical plastic screw or spring clip on a metal rod | Turn the adjustment screw counterclockwise (or slide the clip down). | Turn the adjustment screw clockwise (or slide the clip up). |
| Diaphragm Valve | Top-mounted adjustment screw near the cap | Turn the adjustment screw counterclockwise. | Turn the adjustment screw clockwise. |
| Pressure-Activated | Bottom-mounted pressure sensor (floatless) | Turn the adjustment screw counterclockwise. | Turn the adjustment screw clockwise. |
Identifying Your Float Valve Type
Identifying your specific valve type ensures you use the correct adjustment method without damaging the delicate plastic or brass components inside your tank.
- Traditional Ballcock: Easily identified by a long brass or plastic rod extending horizontally from the top of the valve, with a large, hollow copper or plastic ball floating at the end. These are common in older homes across Utah.
- Modern Float Cup: The current industry standard (like the ubiquitous Fluidmaster 400A). This features a vertical plastic cylinder with a small, round plastic cup that slides up and down the main shaft as the water level changes.
- Diaphragm Valve: An older plastic or brass design that uses a rubber diaphragm inside the top cap to control water flow. These often have a small adjustment screw on top of the cap assembly.
- Pressure-Activated (Floatless): These sit low in the tank and do not use a physical float. Instead, they utilize a diaphragm at the base of the tank that senses water pressure to determine when the tank is full. Note: These are less common and sometimes restricted by local codes due to back-siphonage risks.
When to Fix Toilet Float Valve Components vs. Replacing Them
We don't always need to replace the entire valve assembly. Often, mineral deposits or sediment from hard water (a very common issue in Salt Lake City, West Valley City, and Provo) can clog the internal seals of the valve, preventing it from shutting off completely.
If your valve is relatively new, we recommend performing a simple "debris flush" first:
- Turn off the water supply to the toilet.
- Reach into the tank, lift the float cup up, and hold the shaft steady.
- Twist the top cap of the valve counterclockwise 1/4 turn to remove it.
- Place an inverted plastic cup over the open top of the valve to prevent splashing.
- Turn the water supply back on slightly for 10 to 15 seconds to flush out any trapped sediment or scale.
- Reassemble the cap and test the toilet.
If you inspect the rubber seal under the cap and find it warped or cracked, you can easily swap out just the seal. You can find detailed technical instructions on this process in the manufacturer's manual If Replacing Seal.
However, if your fill valve is over 7 years old, the plastic body has visible cracks, or a debris flush fails to stop the continuous running, it is time for a full replacement. For a broader look at home plumbing maintenance, explore our Plumbing Repair Complete Guide 2026.
Step-by-Step Guide to Replacing Your Fill Valve
If adjustments and cleaning don't do the trick, replacing the entire fill valve is a straightforward DIY project that takes less than 30 minutes.
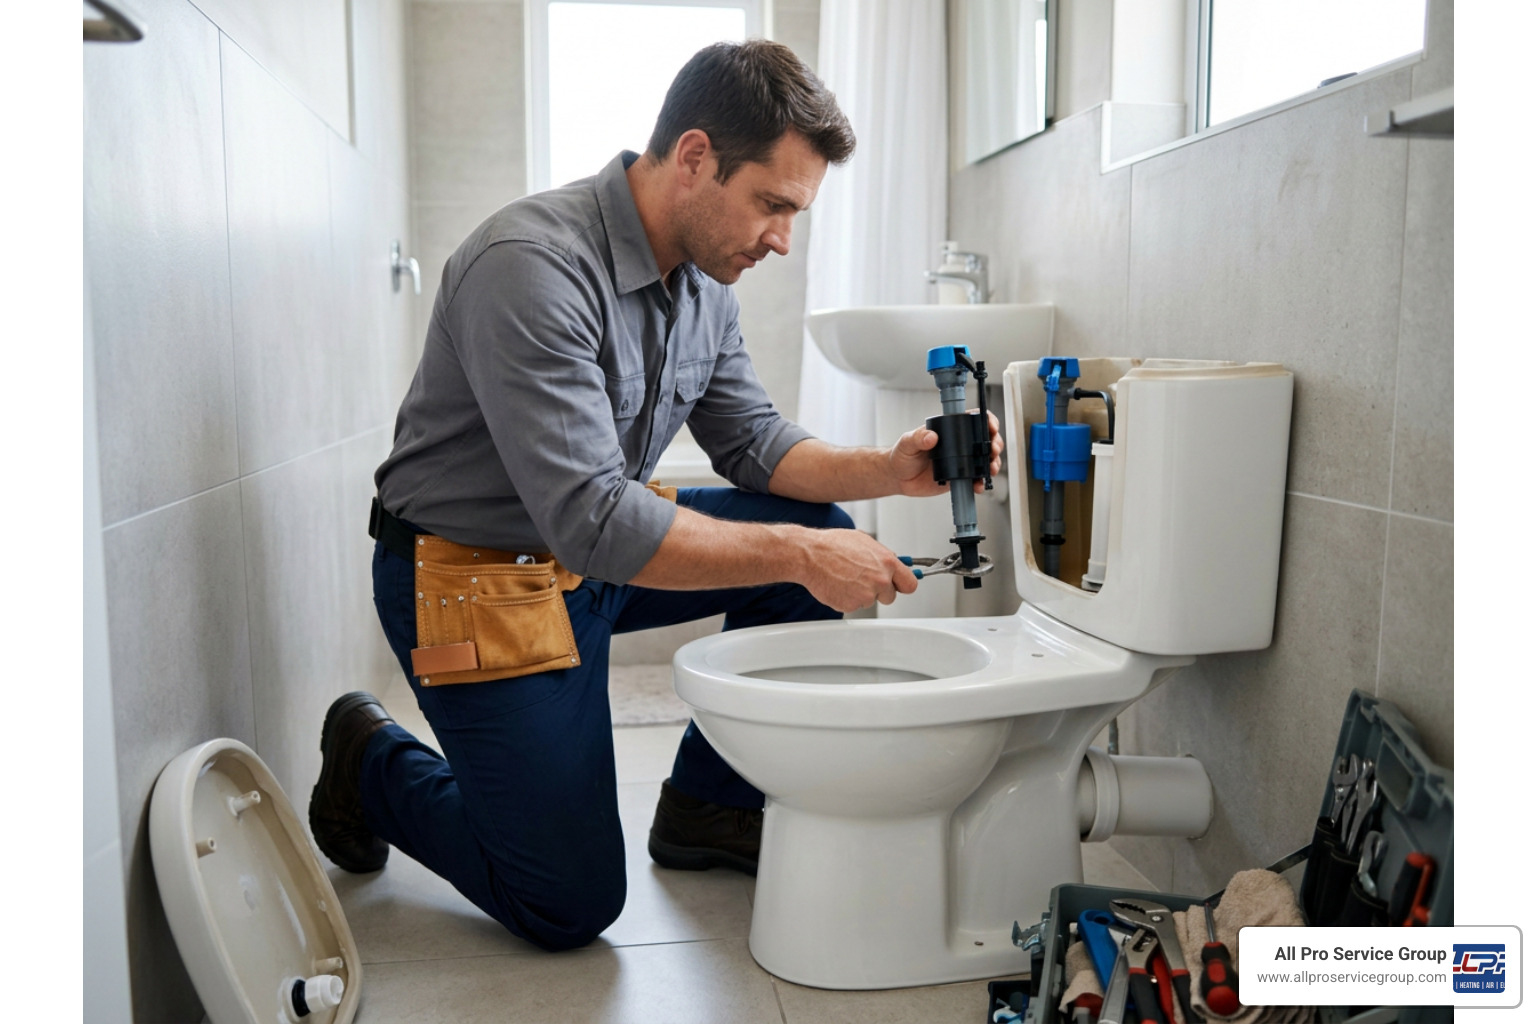
Before starting, locate the water shutoff valve on the wall behind your toilet and turn it clockwise until it stops. If your shutoff valve is old and stubborn, do not force it with heavy tools, as it could snap and cause a major leak. If you run into issues with a frozen shutoff valve or a cracked tank, consult our resource on dealing with a Broken Toilet to keep your bathroom safe.
Tools and Materials Needed
Before we begin, gather the following basic tools and materials:
- Replacement Fill Valve: A universal kit (like the Fluidmaster 400A or Korky QuietFill) usually costs between $8 and $25 at any local hardware store in the Salt Lake Valley.
- Adjustable Wrench or Slip-Joint Pliers: For loosening the water supply line and locknut.
- Small Bucket or Shallow Pan: To catch residual water from the bottom of the tank.
- Sponge and Towels: To clean up any spills and wipe the inside of the tank clean.
- New Flexible Supply Line (Optional but Recommended): If your old supply line is rigid metal or over 5 years old, replace it with a braided stainless steel flexible line to prevent future leaks.
Step-by-Step Guide to Fix Toilet Float Valve Units Completely
Follow these clear steps to install your new fill valve:
- Drain the Tank: Flush the toilet and hold the handle down to drain as much water as possible. Use your sponge to soak up the remaining inch of water at the bottom of the tank, squeezing it out into your bucket.
- Disconnect the Supply Line: Place your shallow pan under the tank connection. Use your wrench or pliers to disconnect the water supply line from the threaded shank at the bottom of the toilet tank.
- Remove the Old Valve: Unscrew the plastic locknut securing the valve shank to the underside of the tank. Lift the old fill valve out of the tank, ensuring you remove the old rubber washer as well.
- Adjust the Height of the New Valve: Most modern fill valves are height-adjustable. Twist the shank to adjust the height so that the top of the valve (and its critical level mark) sits at least 3 inches above the top of the overflow pipe.
- Install the New Valve: Place the new rubber washer onto the threaded shank of the new valve (with the bevelled side facing down toward the tank hole). Insert the valve into the tank hole.
- Secure the Locknut: From the underside of the tank, screw the plastic locknut onto the shank. Hand-tighten it, then give it an extra half-turn with your pliers. Do not overtighten, as this can crack the plastic threads or even the porcelain tank itself!
- Attach the Refill Tube: Clip one end of the black refill tube to the top of your overflow pipe. Connect the other end to the small nipple near the top of your new fill valve. Make sure the tube curves slightly and does not dip below the water level inside the tank (which can cause siphoning).
- Reconnect the Supply Line: Screw the water supply line back onto the valve shank. Hand-tighten, then snug it gently with your wrench.
- Test for Leaks and Fine-Tune: Turn the water supply back on slowly. Watch the connections beneath the tank closely for any drips. Flush the toilet a couple of times and adjust the float screw until the water level stops roughly 1 inch below the top of the overflow pipe.
For a helpful visual walkthrough of this entire process, you can watch this A Step-by-Step Guide to Replacing Your Toilet Fill Valve.
Frequently Asked Questions About Toilet Float Valves
How often should a toilet float valve be replaced?
On average, a high-quality toilet float valve lasts between 5 and 7 years. However, this lifespan can be cut short if your home has hard water. Mineral scale and calcium buildup can clog the delicate internal seals and cause the plastic components to become brittle. If you notice persistent hissing, erratic refilling, or water constantly running into the overflow tube, it is best to replace the valve rather than repeatedly attempting to repair it.
What is the correct water level in a toilet tank?
The correct water level in a standard toilet tank is 1/2 inch to 1 inch below the top of the overflow pipe. If the water level is too low, your toilet will suffer from a weak flush, often requiring multiple flushes to clear the bowl. If the water level is too high, water will constantly spill over the top of the overflow pipe, causing your toilet to run continuously and waste thousands of gallons of water. For a detailed guide on setting the perfect level for specific brands, check out How to Adjust Toilet Tank Water Level [2026] — Fluidmaster, Korky, TOTO.
Can a faulty float valve increase my water bill?
Absolutely. A running toilet caused by a faulty float valve can waste up to 6,000 gallons of water per month. Depending on your local utility rates in the Greater Salt Lake Area, this can easily add $50 or more to your monthly water bill. Taking 15 minutes to adjust or replace a faulty float valve is one of the most effective water conservation steps you can take in your home.
Conclusion
Taking the time to fix a toilet float valve is a highly rewarding, budget-friendly DIY project that protects your home from unnecessary water waste. By understanding how your fill valve works, diagnosing the issue correctly, and following a few simple adjustment or replacement steps, you can keep your bathroom running smoothly.
However, we know that plumbing repairs can sometimes feel overwhelming. If you encounter a stubborn shutoff valve, a cracked toilet tank, or if you simply prefer to leave the dirty work to the professionals, we are here to help.
All Pro Service Group offers dependable plumbing, heating, air, and electrical services across the Greater Salt Lake Area — including Ogden, UT, Park City, UT, Provo, UT, South Jordan, UT, West Jordan, UT, West Valley City, UT, Salt Lake City, UT, and South Salt Lake, UT. Since 2008, our trained experts have provided exceptional customer service, earning us our proud "Gephardt Approved" status.
When you need reliable, professional Plumbing Repair that gets the job done right the first time, give us a call or schedule an appointment online today!